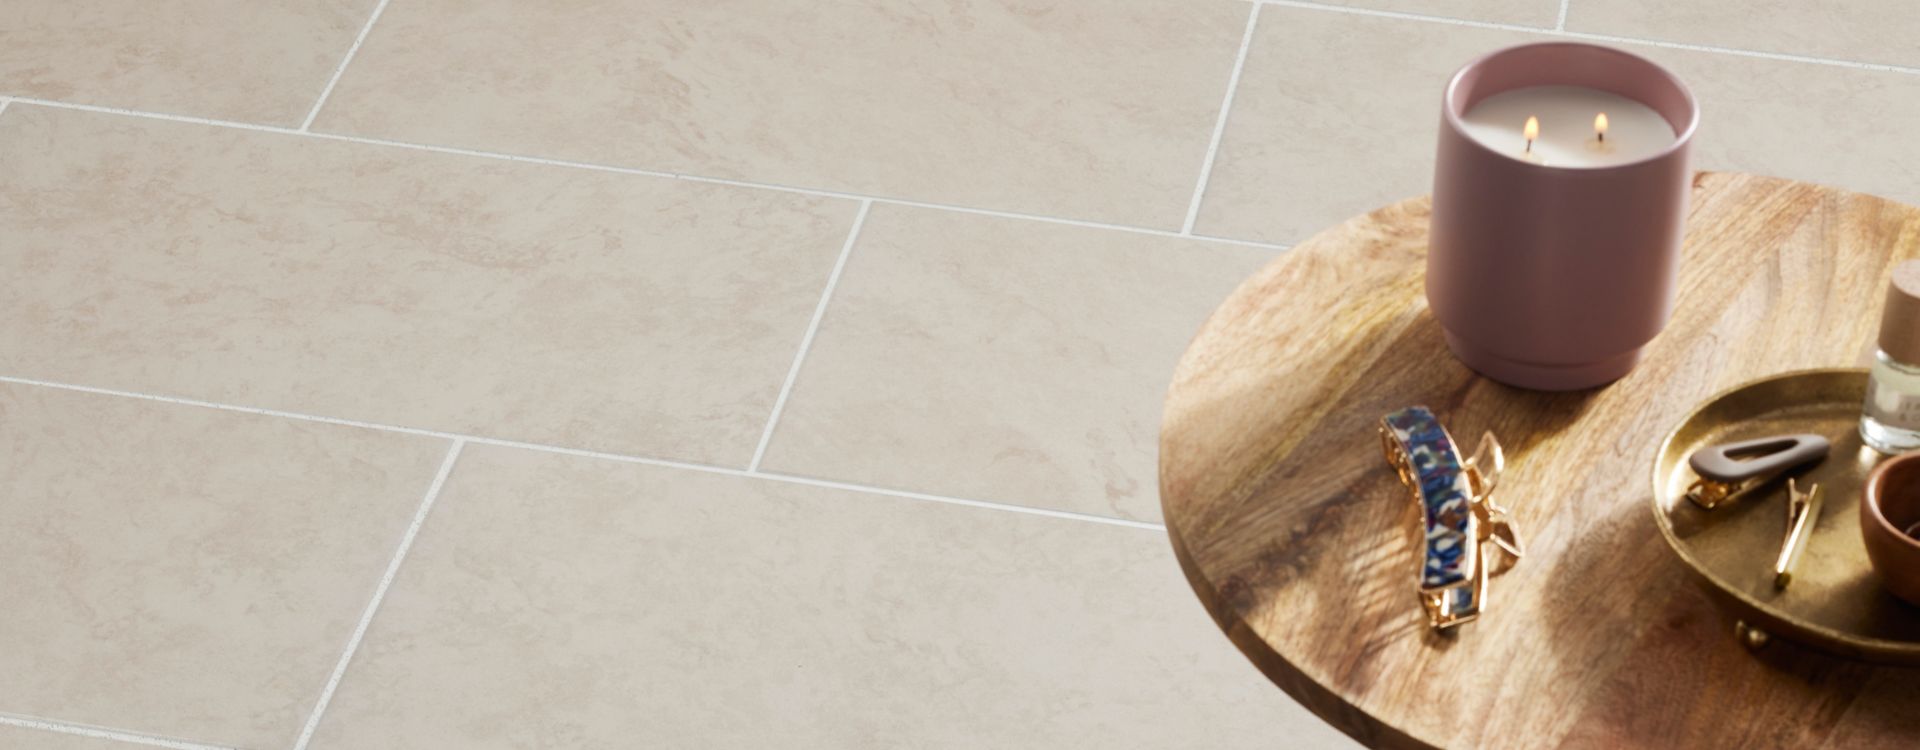
How to Remove Ceramic Tile

When you are ready to give your kitchen, bathroom, or other tiled area a refresh, the first thing you need to do is remove the old tile. Luckily, removing ceramic tile can be done by just about any DIY enthusiast at minimal or no cost. Whether you want to remove ceramic tile from a wall, floor or backsplash, the process itself is relatively simple.
In this article, we will explain how you can remove ceramic tile from your wall or floor, step by step.
What You'll Need
- Safety glasses
- Work gloves
- Dust mask
- Knee pads (for floors)
- Long sleeve shirt
- Durable pants
- Cold chisel or putty knife
- Hammer
- Pry bar
- Shim or wedge (optional)
- Spray bottle (optional)
- Heavy duty garbage bags
- Broom and dustpan or shop vac
01
Safety First
While it is important to take safety seriously for every home renovation project, the process of removing ceramic tiles presents specific hazards that require extra care.
Always wear a dust mask or respirator to filter out harmful particles, and use safety goggles to shield your eyes from airborne debris. Ensuring good ventilation in the workspace helps reduce dust accumulation, so open windows or use fans if possible. Lightly misting the area with water can also help to minimize dust.
Sharp tile shards can be dangerous to handle, so always wear sturdy gloves to keep your hands safe from sharp edges. Safety goggles will protect your eyes from shards sent flying, which can happen unexpectedly when a tile initially comes loose. Wearing long sleeves and pants made of durable material provides an additional layer of protection for your skin.
02
Remove Grout
Before you can get your pry bar under the first tile, you will need to clear away the existing grout. For most ceramic tile removal projects, it will not be necessary to remove the grout from the entire surface. Rather, you will simply need to remove enough grout to get the first few tiles up.
To remove the grout, place a chisel in the grout line at a 45-degree angle and tap it gently with a hammer. If you do not own a chisel, an old flathead screwdriver will also work. Your goal should be to move the chisel along the grout line rather than straight down, which could damage the substrate. Continue tapping the chisel until you have enough room to fit your pry bar.
03
Pry up Each Tile
With the grout cleared away, take your pry bar and fit it between the tile and the wall or subfloor. You may need to tap the pry bar with your hammer to get it far enough under the tile to separate the tile from the mortar.
Once the pry bar is firmly under the tile, press it down to lift the tile away from the wall or subfloor. Often, the tile will simply pop off the surface intact. If the tile comes up in pieces, repeat the process to clear all the pieces of the current tile before moving on.
04
Break Up Stubborn Tiles (Optional)
If you are struggling to get your pry bar under the tile, you may need to break the tile up before you can remove it. To do this, place a center punch in the middle of the tile and strike it with a hammer.
To avoid puncturing the drywall or subfloor, your hammer strike should be firm but not too strong. Start with a gentle tap and increase the power of each strike until the tile starts to break up.
Once the tile is in pieces, clear away the debris and place your pry bar under one piece and pull it away from the wall or floor.
05
Scrape Off Adhesive
Depending on the amount of adhesive that remains stuck to the underlayment, you may need to do another pass to fully clear the surface. Use a flat chisel or putty knife to scrape away any remaining thin-set mortar from the subfloor or drywall. The subfloor or drywall will need to be as smooth as possible if you plan to lay any new tile or other material on the surface.
06
Repair any Damage
Even the most careful professionals can cause a bit of damage to the area when removing ceramic tiles. Once all the tile and adhesive has been removed, check the area for holes or gouges. Patch any damaged areas with a product appropriate for the flooring or wall material. Mix, apply, and allow appropriate drying time according to the manufacturer's instructions to ensure your patch jobs do not come apart when you attempt to install new tile.
07
Clean the Area
Before the surface can be worked on again, it needs to be thoroughly cleaned. Start by sweeping larger debris with a broom and collecting it in a Collect all the broken tiles and debris and place them in heavy-duty garbage bags. Next, go over the surface with a shop vac to get the finer particles and dust. Finally, wipe down the wall or floor surface with a damp cloth to remove any remaining residue.
Ceramic tile debris is typically considered construction waste. Check with your local waste disposal company for guidelines on how to properly dispose of these materials.